One of the biggest advancements in digital photography over the past 3-4 years has been the ability to shoot without flash in low light conditions. If you are new to photography and are mostly playing around with your aperture and shutter settings, that is great, but don't forget about the ISO settings. ISO refers to light sensitivity. The higher the number you set you ISO, effectively the more light the sensor can pick up. 8-10 years ago the best you could get away with was a setting of 1600 ISO. At that point and beyond, if available, images would start to break down with noise. Even 800 ISO was pushing it back then. Today those numbers are at 6400, and even 12,800; and on some cameras the number goes up beyond 100,000. In layman terms, this means that it can be dusk outside, or low light inside, and you can still get a decent hand held shot. But despite the great improvements with ISO and sensors, you still need to be careful with how you take high ISO images. Noise is still an issue, especially if you do not expose correctly. So below I offer some advice on high ISO images.
1. Regardless of your situation, just because you have high ISO capability on your camera, you should always lean toward the lowest ISO possible to still get the image. Lower ISO gives you better color and less noise, higher ISO gives you less color and more noise. So don't crank up your ISO just because your camera has it. Always default first to maximizing your aperture and shutter speeds to get the most light, then use the ISO to give you more latitude if you need it.
2. Proper exposure is imperative. If anything, you should compensate a bit toward over exposing your image. If you underexpose your image and then try to correct it in your favorite image editing software, you will end up with quite a lot of noise. Over exposing of course risks blowing out highlights, so you have to be careful there too, but I would rather error on that side than with underexposing the image.
3. Take multiple images at different exposures so you have choices afterwards.
4. Shoot raw, if your camera has it. Raw files give you a lot more latitude in correcting your images.
5. Use noise reduction software. Even though noise is not as bad as it used to be at lower ISO, it is still a problem as you reach your camera's ISO limitations. Noise reduction software can do a pretty good job of reducing that noise. You have to be careful with this software though because it can soften an image.
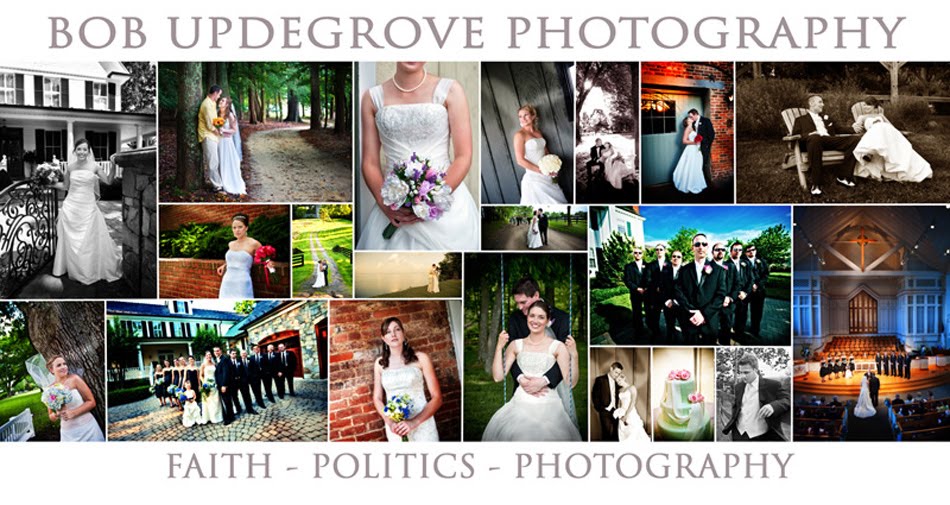
The image here was taken at 6400 in a very low lit church. I added some noise reduction to it. This shot would have been much harder to obtain 10 years ago, and even harder back in the film days when ISO film pretty much only went up to 1600. Click to enlarge.

